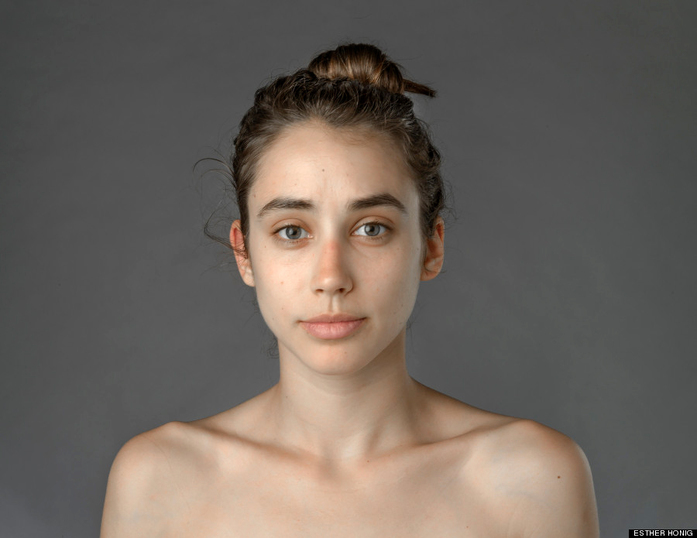
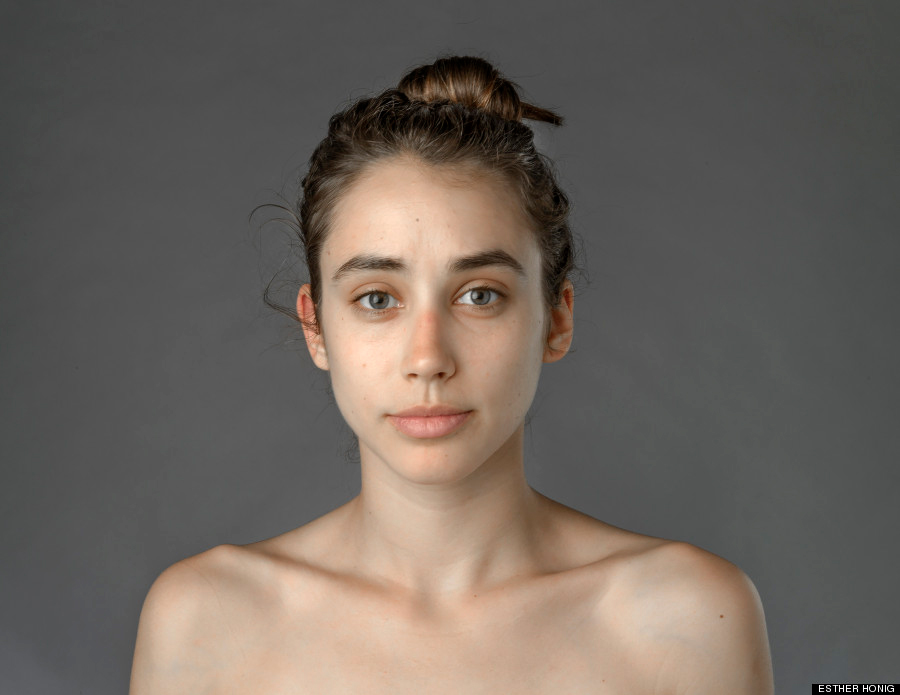
Esther Honig's simple invitation from her "Before & After" project was this:
"Make me look beautiful."
Setting my own feminist ideals and philosophical discussions on "what is beauty" aside, I found the challenge to be intriguing, and saw this as an opportunity to display my skills while having a little fun.
I did not know of this challenge until after the results were posted, so I did not submit any edits, but according to the article, her challenge was taken up by forty photo editors in over twenty-five countries, with a wide range of results.
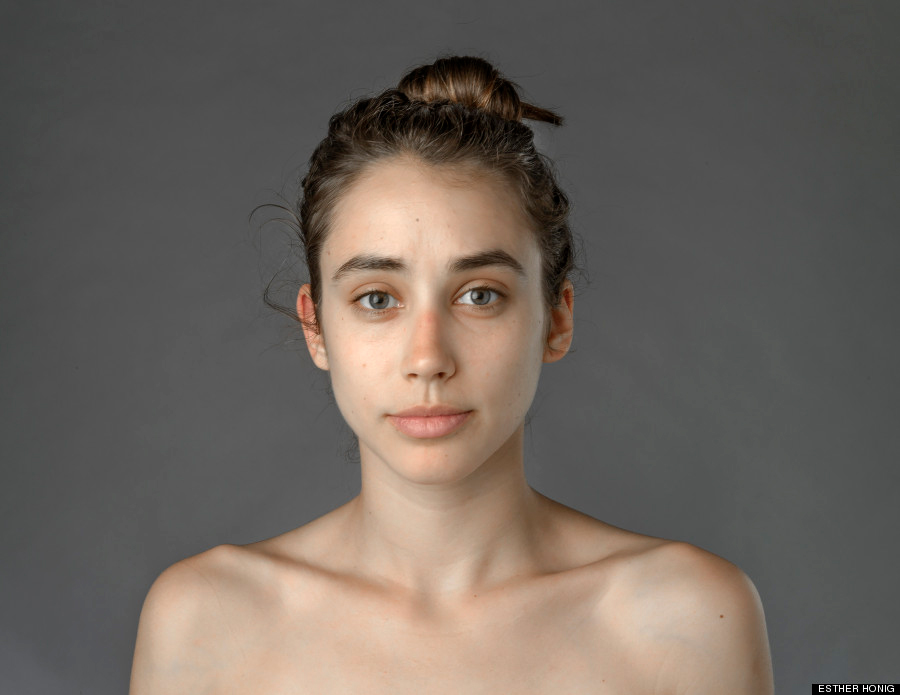
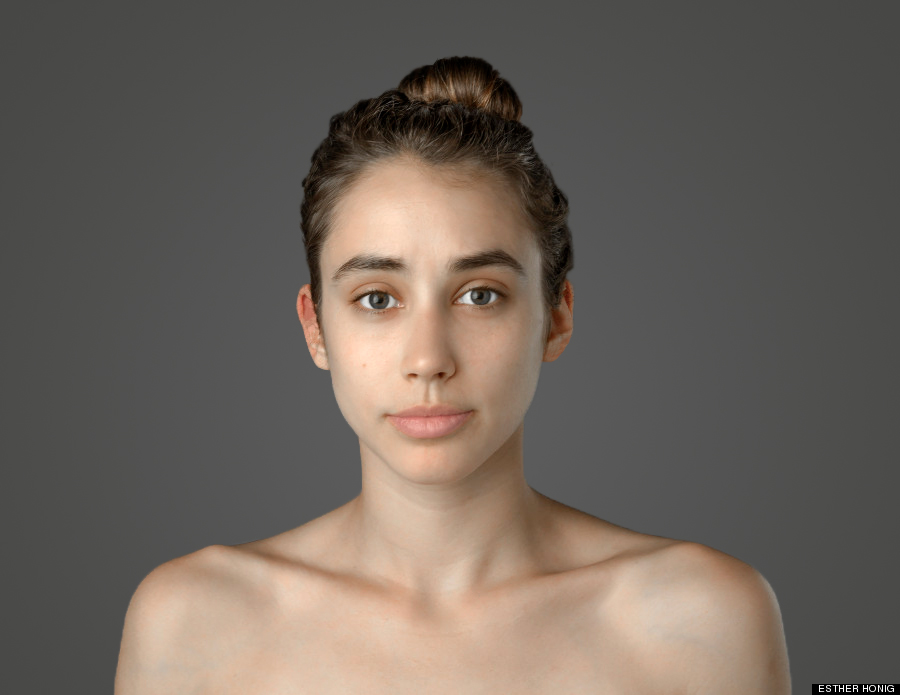
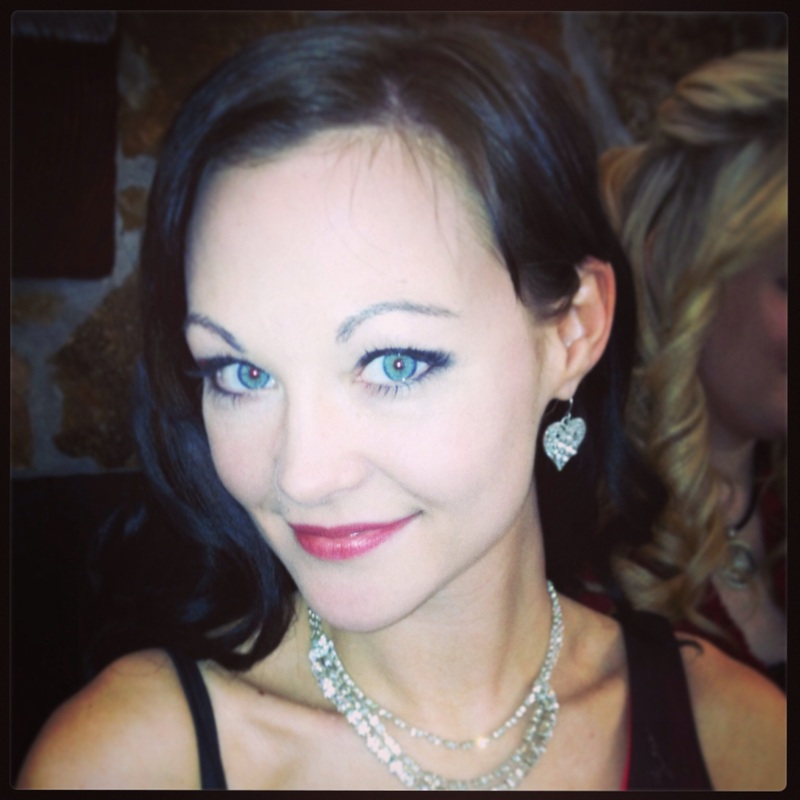
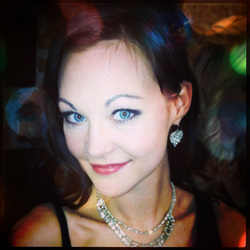
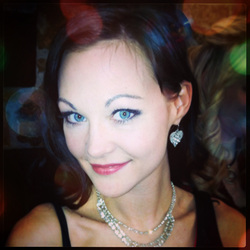
Below is my own interpretation, as would be seen if she were to come to me as a client.
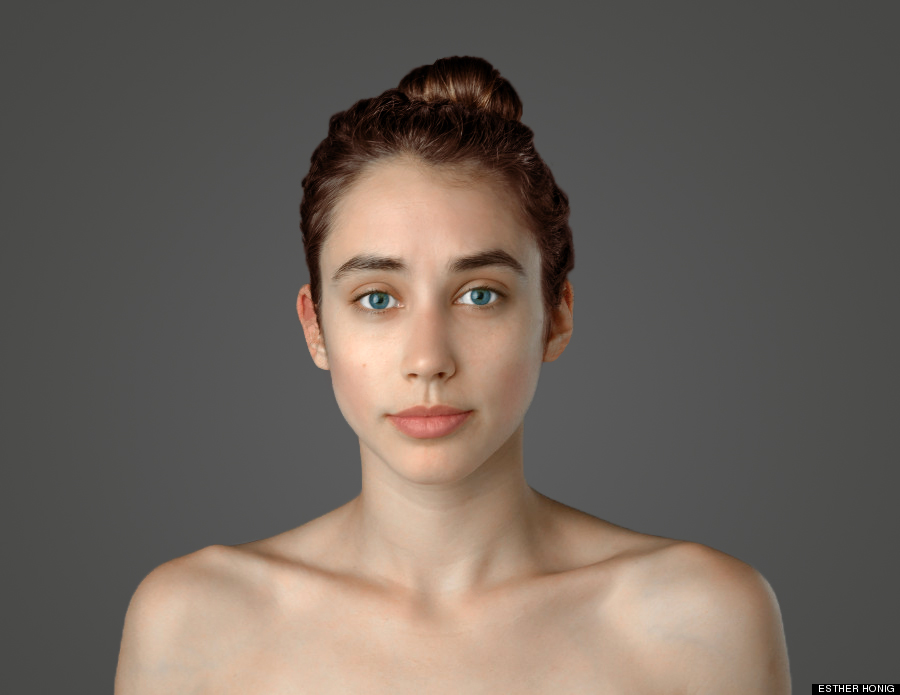
• To start, I brightened the whites of her eyes using the Dodge tool, and enhanced her irises using the Burn tool.
• I, then, did a faint touch-up of her lips by duplicating them and adding a Color Overlay before dropping the opacity to 28%.
• In order to ease the bags under her eyes, I duplicated her face, smoothed the bags completely, then adjusted the opacity down to 60% to allow part of the natural lower-eyelid to show through.
• Next I smoothed her skin and cleaned up her blemishes using a combination of the Stamp tool and the Spot Healing Brush tool. I left the freckle on her cheek because I believe beauty allows for imperfections. I opted not to enhance it like some do as a "beauty mark," because, frankly, I don't find those attractive.
• Admitting to a mistake: broadening her shoulders. My hope was that it would make her look less dainty, but it resulted in her looking a little more man-ish than intended.
• I finished up by cleaning up her fly-aways. The simplest method was to separate her from the background and adding a Radial Gradient in its place. The most difficult section was the hair over her ears, which required careful use of the Stamp tool.
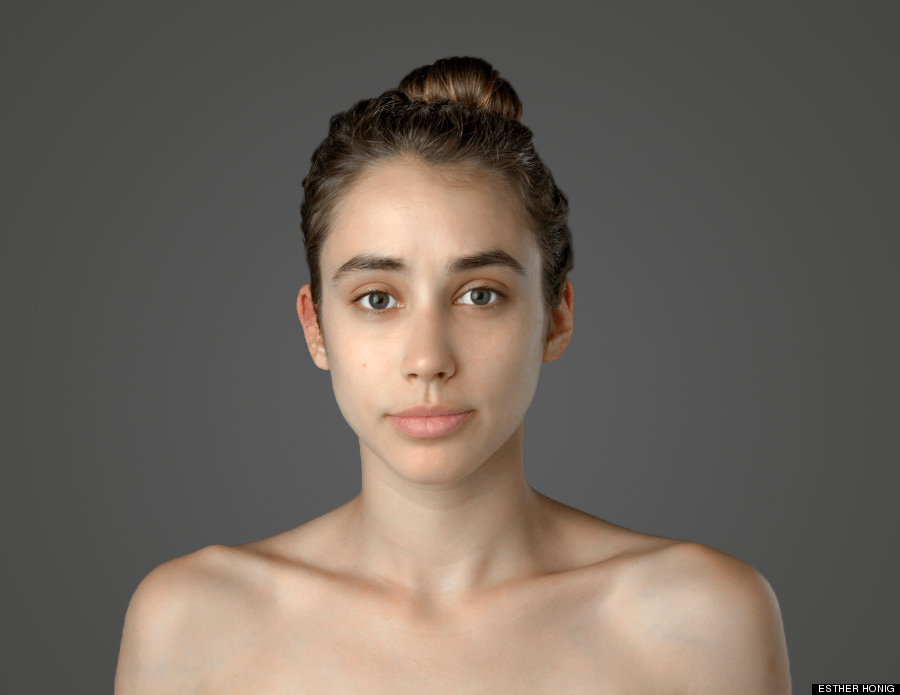
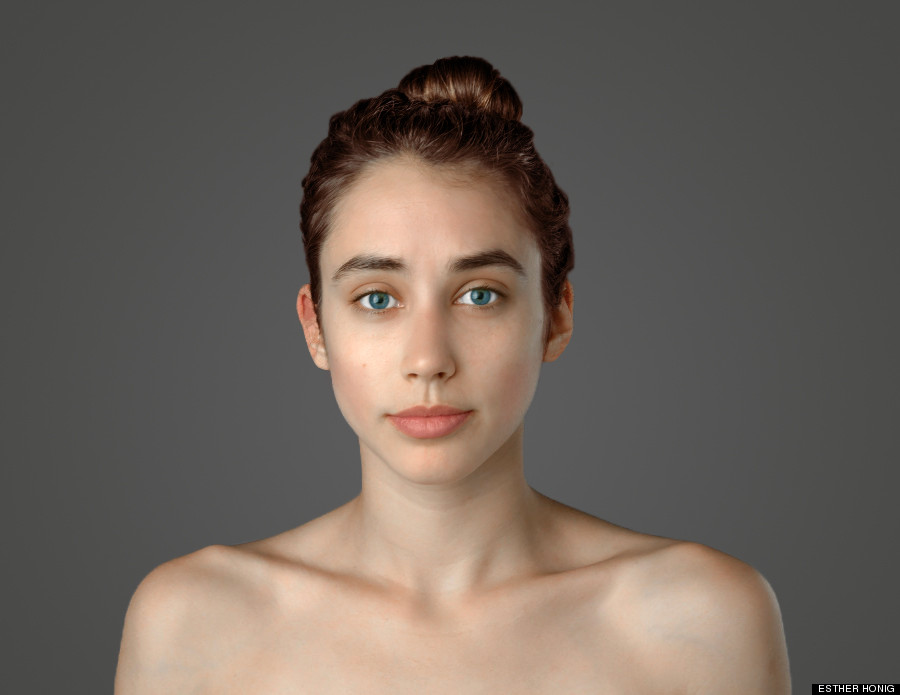
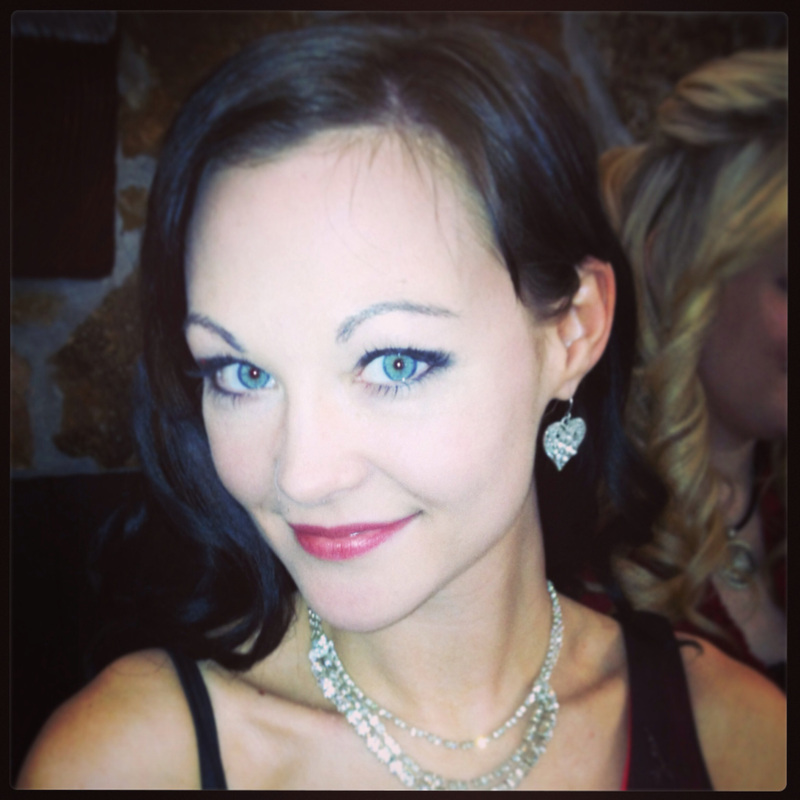
Next, I took it a little further by adding some "makeup," and enhanced a couple extra features.
• Starting, again, with the eyes, I changed her eye color to a blue-green by adding a Color Overlay, changing the Opacity to 36%, and changing the Blend Mode to Screen.
• I darkened her lips simply by changing the color of the Color Overlay to a darker red.
• I then added blush on both her cheeks and her T-zone, used a Gaussian Blur to blend it into her skin, and took the Opacity to 20%.
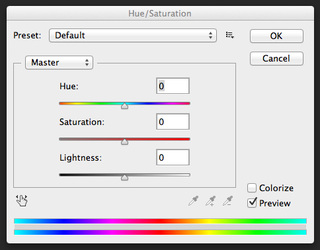
• Finally, I changed her hair from brown to a dark auburn by using Select > Color Range, then adding a Hue/Saturation Adjustment Layer, selecting Colorize, and adjusting the Hue, Saturation, and Lightness until it looked natural.
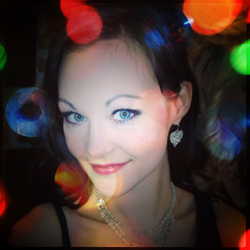
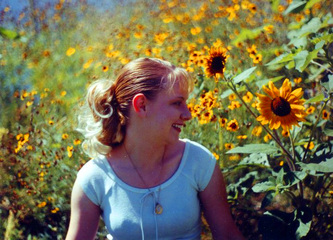
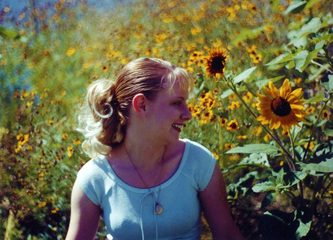
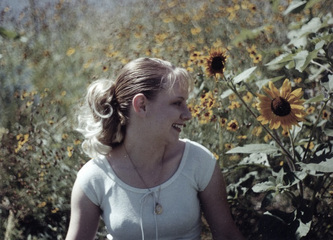
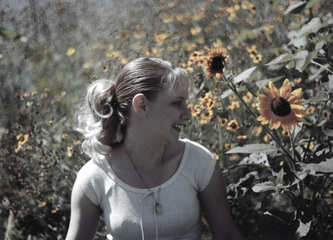
The final comparison can be seen here:
Thanks for joining me for this tutorial.
If you have any photos you'd like touched-up, don't hesitate to bring them to me. I'll give you a great deal.
If you have any photos you'd like touched-up, don't hesitate to bring them to me. I'll give you a great deal.
Brian Sheets





 RSS Feed
