Once again, we return with a Photoshop Q&A, this one answered by Rafael "RC" Concepcion.
What's the difference between Vibrance and Saturation? I never really know when to use which.
Saturation will saturate all of your colors evenly as you move the slider to the right. It doesn't make any considerations for the image. Vibrance, on the other hand, is a more intelligent way to saturate. As you increase Vibrance, colors in areas that are undersaturated will be saturated. Oversaturated colors will be left alone, and any colors that are in a skin tone will generally not be touched. I tend to use Vibrance on any picture that I want to "pop" in terms of color that has a person in it. If there is no person present, I'll always give Saturation a try first.
Article by: Rafael "RC" Concepcion
Photoshop User Magazine -- Photoshop Q&A -- Pg. 114
September 2012
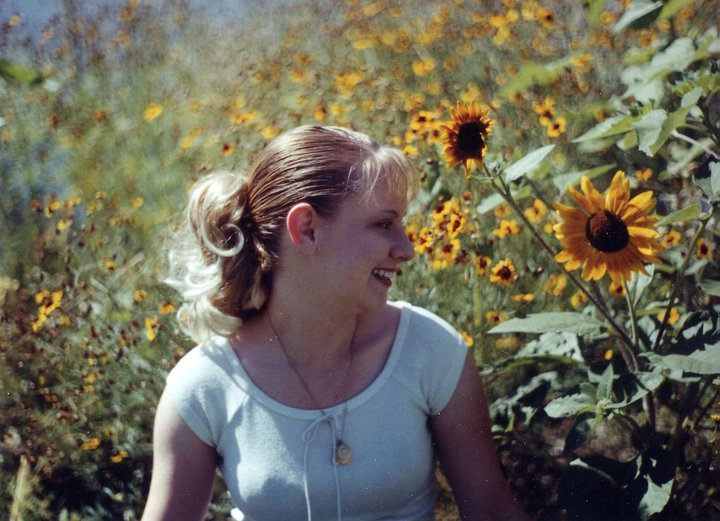
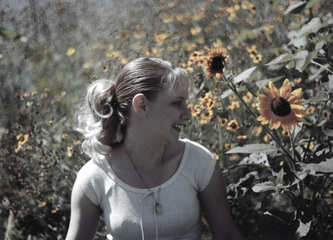
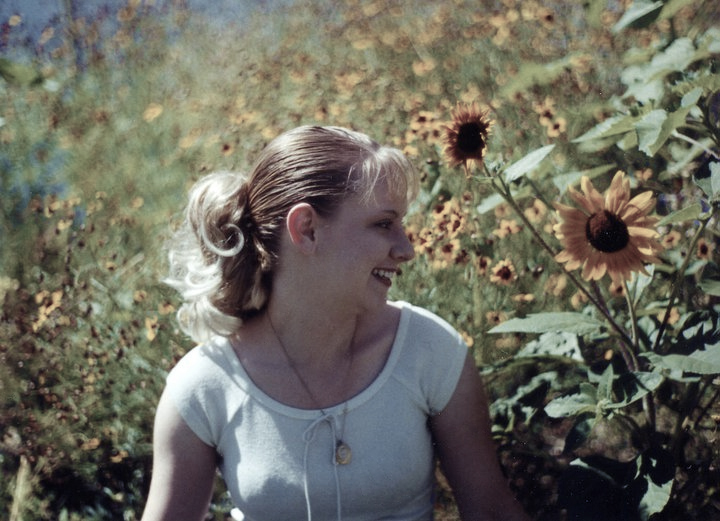
After reading through the tutorial I began my search for a photo I could apply these features to. The photo you see above is of my beautiful wife before we met, which was taken by our mutual friend (who happened to introduce us), Amberlee Eddington Hildebrand of Mariposa Photography. To get a better idea of what I was working with, I asked her a few questions. Keep in mind that this shoot took place over ten years ago, so I was pleased that she remembered as many details as she did. Below are her responses:
Camera type: my old memiya film SLR
Lens type: no clue
Camera setting(s): as far open as my aperture would go to compensate for having no light meter and a shutter speed that maxed out at about 200
Photoshop treatment(s) (if any): no photoshop. This is the raw shot.
Note, also, that this is a scan of an original photograph, so there are visible artifacts.
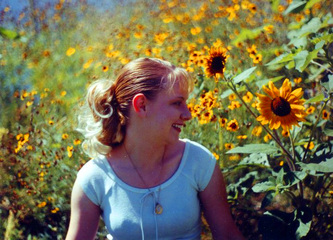
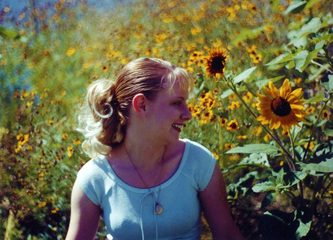
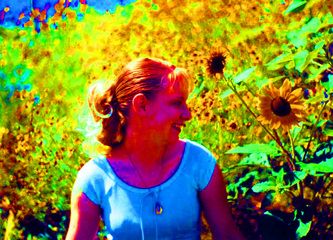
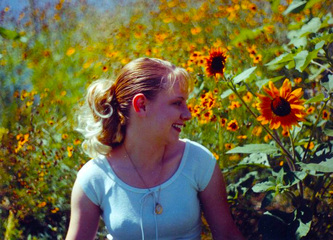
Because of the simplicity of the tutorial, there's not much to say about my methods, so to keep things interesting I've provided some variations on both Vibrance and Saturation. Be aware that exact comparisons can't really be made. Saturation allows for a wider range than Vibrance, so to be able to display comparable images, I had to multiply the Vibrance effect by two.
| +50 Saturation | +100 Vibrance |
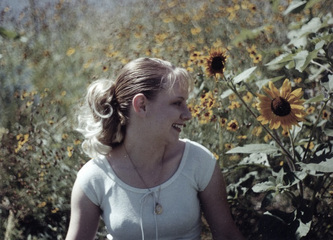
Out of curiosity I played with the negative range and was very pleased with the results.
| -50 Saturation | -100 Vibrance |
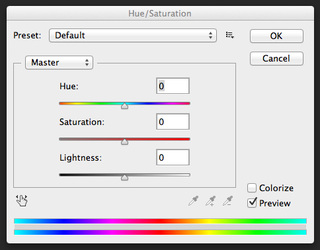
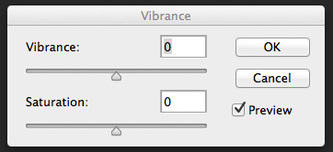
Something to keep in mind is that Saturation can be found in a few ways: Image > Adjustments > Hue/Saturation, or by pressing Command+U on a Mac (Control+U on a PC), but also by going to the Vibrance dialog box: Image > Adjustments > Vibrance. These two Saturation options are not created equal, as illustrated in the examples below.
| +100 Saturation Hue/Saturation Dialog Box | +100 Saturation Vibrance Dialog Box |
The Hue/Saturation dialog box provides a wide variety of options that include defaults, color schemes, color selection, and lightness. Over-all, it's a great tool and should not be overlooked for Vibrance every time.
The Vibrance dialog box is simply comprised of the Vibrance slider and the Saturation slider.
The Vibrance dialog box is simply comprised of the Vibrance slider and the Saturation slider.
To wrap up this tutorial I wanted to show how the two, combined, could look when separating the model from the background. There are thousands of possible results, especially if you combine Saturation and Vibrance with the other options available. For this, however, I used only the Vibrance dialog box.
In this case, the negative range was more inspirational to me than the positives. I started by cutting her away from the background so they could be treated separately. I applied a -40 Saturation and left the Vibrance at 0, then cleaned up the artifacts on her skin and shirt. For the background I cranked up the Vibrance to +100 and brought the Saturation down to -50, then cleaned up a couple artifacts there as well.
I hope this tutorial was as enlightening for you as it was for me. I know I'll be using it more often in the future.
If there's anything any of you have wondered about for Photoshop, send me a message and I'll address it in the next tutorial.
I hope this tutorial was as enlightening for you as it was for me. I know I'll be using it more often in the future.
If there's anything any of you have wondered about for Photoshop, send me a message and I'll address it in the next tutorial.
Brian Sheets
30/June/2013
30/June/2013
 RSS Feed
