Press Command+J (PC: Ctrl+J) to make a copy of an image layer. Set the blend mode of the bottom layer to Multiply and the top layer to Screen in the Layers panel. Now when you place the two layers on any background, you can adjust the Opacity of those two layers to allow the texture of the background to show through.
Tip by: Pete Collins
Photoshop User Magazine -- 13th Annual Top 100 Photoshop Tips -- Pg 49
October 2012
Before we start, I'd like to thank Adam Benner, of Eye of the Lens Photography, for contributing one of his photos to this tutorial. We hope to highlight more of his work in the future.
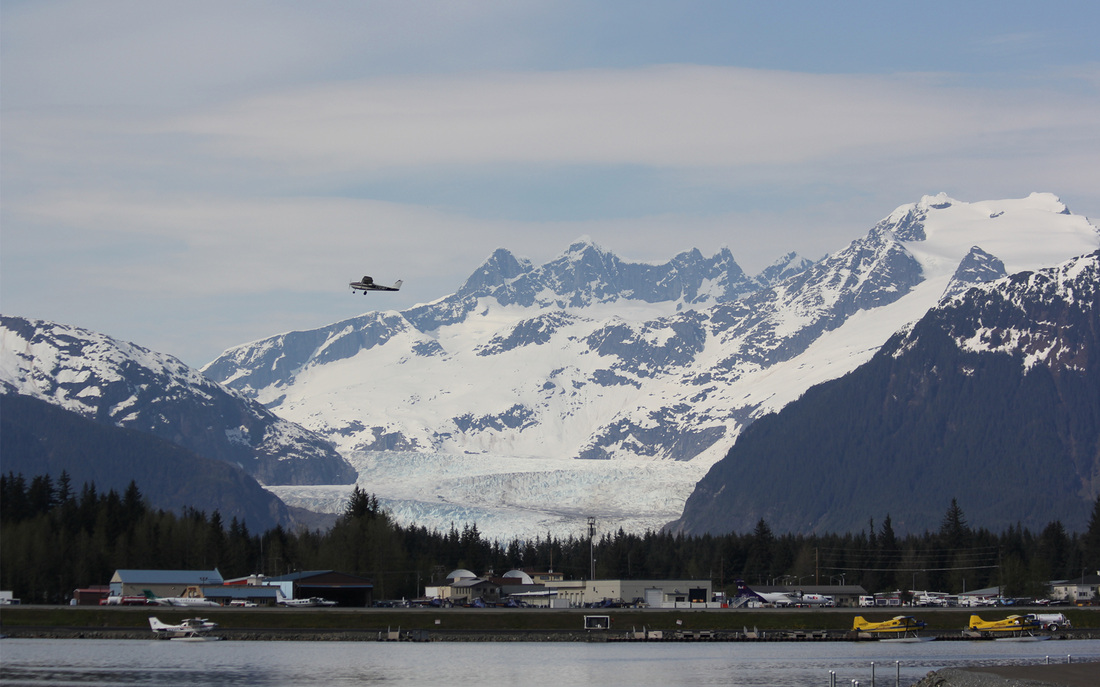
The above photo is the original, RAW version. To see Adam's HDR version, along with many other beautiful photos, click on the link provided above.
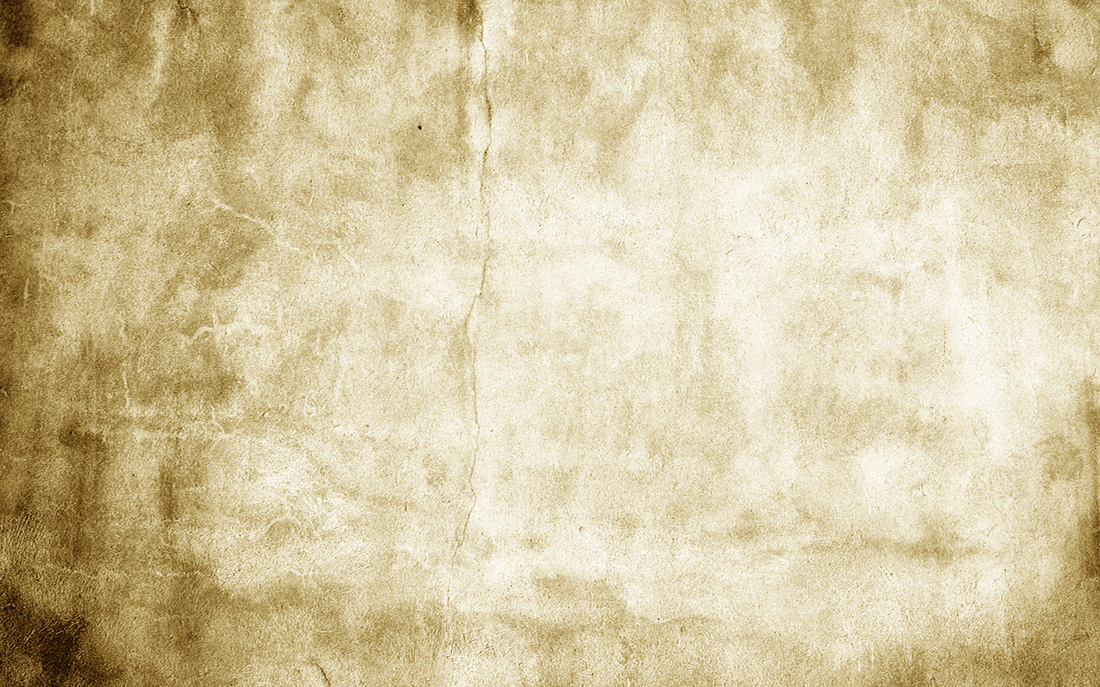
Along with choosing a photograph, I also had to choose a texture to place behind it. I chose the one below for the "aged" look.
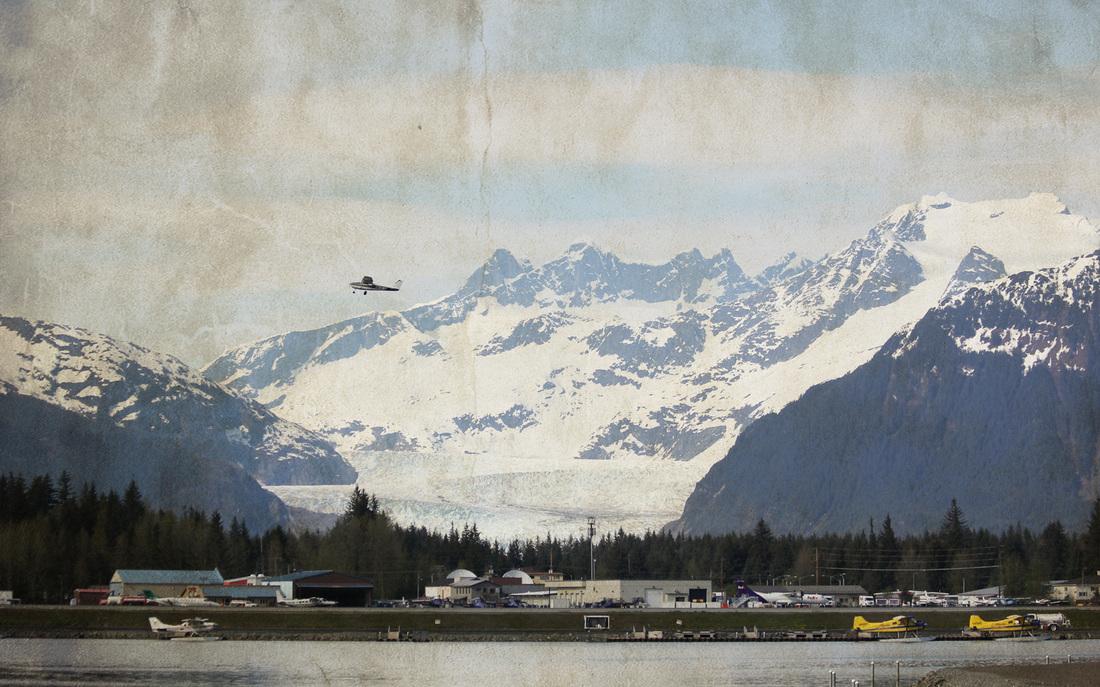
Just as the instructions said, I duplicated the original photo and changed their blend modes, then adjusted the opacity of the Screen layer to where I thought it looked good. Here's the result:
Unfortunately, the result was more of a dirty look than aged, so I wanted to try something a little different. Something more.
After a brief search I came across the image blow, on the left.
After a brief search I came across the image blow, on the left.
| Gradient-Warm I loved this as soon as I saw it, and I knew I wanted to use it in this tutorial. | Gradient-Cool This is simply an inverted version of the previous image. To invert an image, press Command+I (PC: Ctrl+I) |
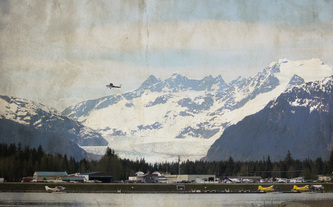
The hope was that the "Gradient-Warm" image on the left would give it a "dusk" feel, but it wasn't quite what I wanted., so I inverted the image to the "Gradient-Cool" just to see how it would look. Still, it wasn't quite what I wanted, so I had the idea to combine them, and give them each their own blend mode.
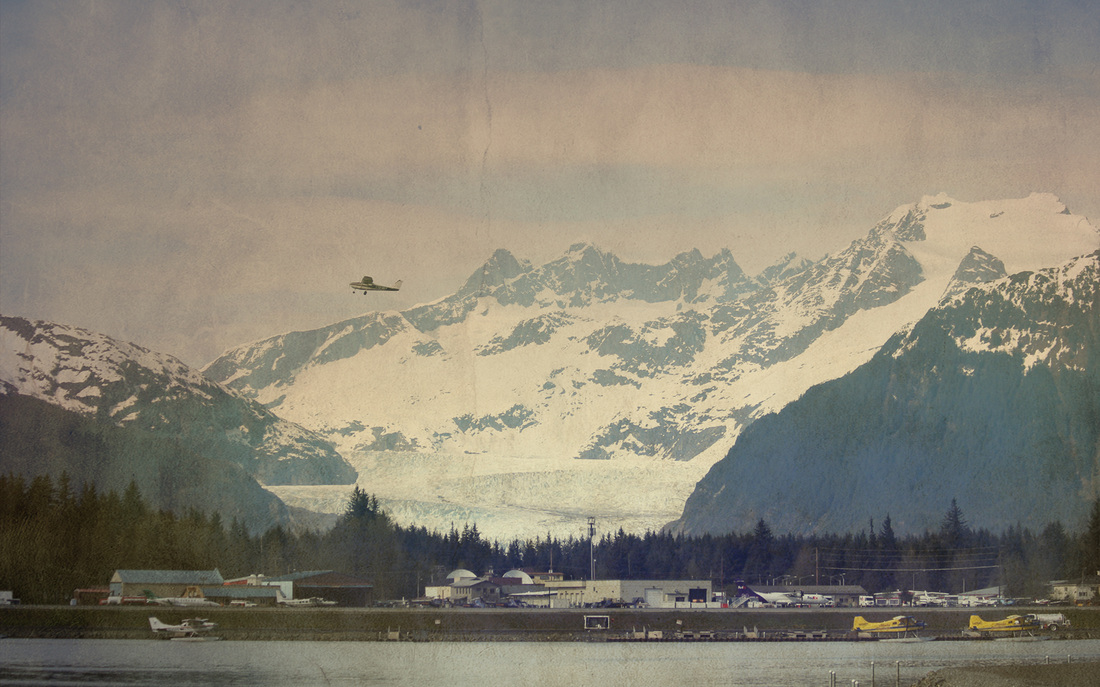
I also played with the ordering and blend modes of each different layer to see what I felt would give me the most pleasing results. What I ended up with was this:
I also played with the ordering and blend modes of each different layer to see what I felt would give me the most pleasing results. What I ended up with was this:
The combination, I feel, gives this a more genuine feeling of age, as if taken on a film SLR in the mid-70's, developed, and stored in a shoebox in the attic.
The following (top layer, down) is how I came to this:
Original image: Screen blend mode
Texture layer: Multiply blend mode
Gradient-Warm: Multiply blend mode
Gradient-Cool: Screen blend mode
Original image (duplicate): Normal blend mode
The following (top layer, down) is how I came to this:
Original image: Screen blend mode
Texture layer: Multiply blend mode
Gradient-Warm: Multiply blend mode
Gradient-Cool: Screen blend mode
Original image (duplicate): Normal blend mode
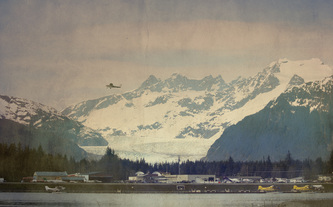
Just for good measure, here are all three versions, side-by-side, for a quick reference.
| Original image | Original tutorial version | Aged tutorial version |
Thank you, again, for taking the time to view my tutorial, and a very special thanks to Eye of the Lens Photography.
As usual, we'd love to know what you think.
Also, if you have anything you'd like to see us do (from the Adobe Suite, to photography in general), send us a message and one of our experts will address it.
As usual, we'd love to know what you think.
Also, if you have anything you'd like to see us do (from the Adobe Suite, to photography in general), send us a message and one of our experts will address it.
Brian Sheets
9/Aug/2013
9/Aug/2013



 RSS Feed
